


This one was especially cheap because of the yucky inside. So I ripped it out. literally, a good pull was all it took to get the staples and trim off.


Glued some batting in with spray adhesive, trimming the extra on the edges

Next I cut out some new fabric I had laying around, using the old stuff as a rough guide.

Using hot glue, I made a line of glue along one bottom edge and pushed down the fabric. I glued down one side at a time, stretching the fabric just enough so it would lay smooth.
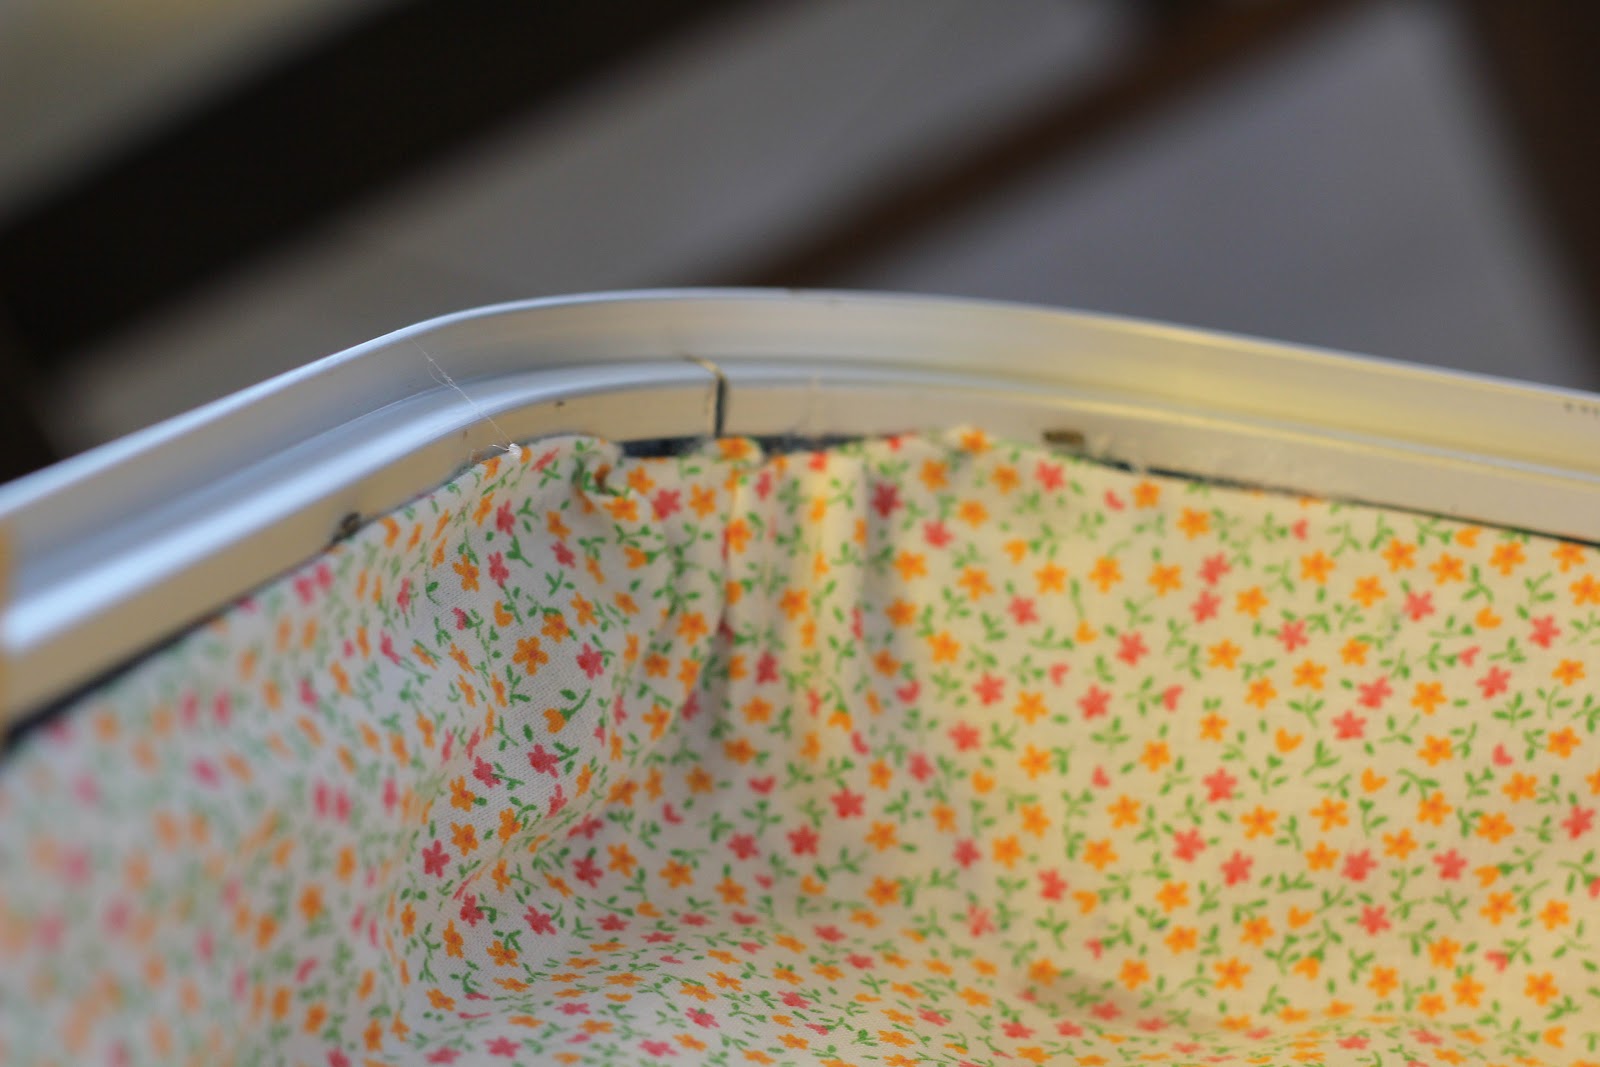
Then I folded the fabric over and glued it along the top edge, one side at a time, ignoring the corners.

I did the corners last and just bunched the fabric together and folded it over. I added lots of hot glue.
I chose to glue some trim along the edge. If you use an organza ribbon like I did, you have to be careful to keep your glue lines neat or they show through. I did the top edge of all the ribbon first, then the bottom after.


Next I made the panel that covers the hinges. Presumably, this prevents your clothes from getting pinched when you close the case. The original had some sort of flexible cardboard. Interfacing would have been ideal, but that stuff is pricey and I wanted fast and cheap so I used felt. I cut it long enough to stretch across all the back hinges.

Then I covered one side of it in fabric.


Then I glued the edges to the case.

I made of bow of ribbon and it was ready to go!

The whole project took about an hour from start to finish. I know because I started in an hour before I was supposed to leave for the bridal shower :) Sometimes it is faster just to go for it then to research a how to online.
It was also perfect filled up with all the wedding flowers. Since the handle is on top, the pretty paper boxes remained uncrushed.
I fell so in love with how this one turned out I didn't want to give it away. I'll have to look for another. Or in keeping with garage sale karma, try not to look for another one :)
7 comments:
That was so creative! I am going to look for one myself. Thanks for the instructions!
I think there is a case like that in my closet, though mine isn't quite as bad inside as that one was (I hope).
this is amazing. i'm stealing it.
Geneva, I LOVE reading your blog. I just discovered it and I REALLY wish I could have chatted with you more when I was in Arizona. The suitcase is adorable and I too would have been tempted to have kept it for myself.
So cute!! My mom had a little suitcase just like that when I was growing up and I always wanted it.
Wow. Super cute and now I'm jealous of your mad suitcase lining skills!!!
Your sis-in-law loves the suitcase too. :)
Post a Comment